
Prepare
Tools and materials
- Non-contact voltage tester
- Stepladder
- Headlamp or work light
- Screwdriver set (flat and Phillips)
- Wire strippers
- Needle-nose pliers
- Wire nuts (appropriate sizes)
- Electrical tape
- Drop cloth
- Marker or label tape
- Stud finder (optional)
- Camera or phone for documentation
Safety boundary
Stop and reassess if
- Always turn off power at the circuit breaker before working on any light fixture and verify with a non-contact voltage tester.
- Never rely on the wall switch alone to cut power—switches can be wired incorrectly or fail.
- Use a sturdy stepladder tall enough to work comfortably; never stand on the top two rungs or overreach.
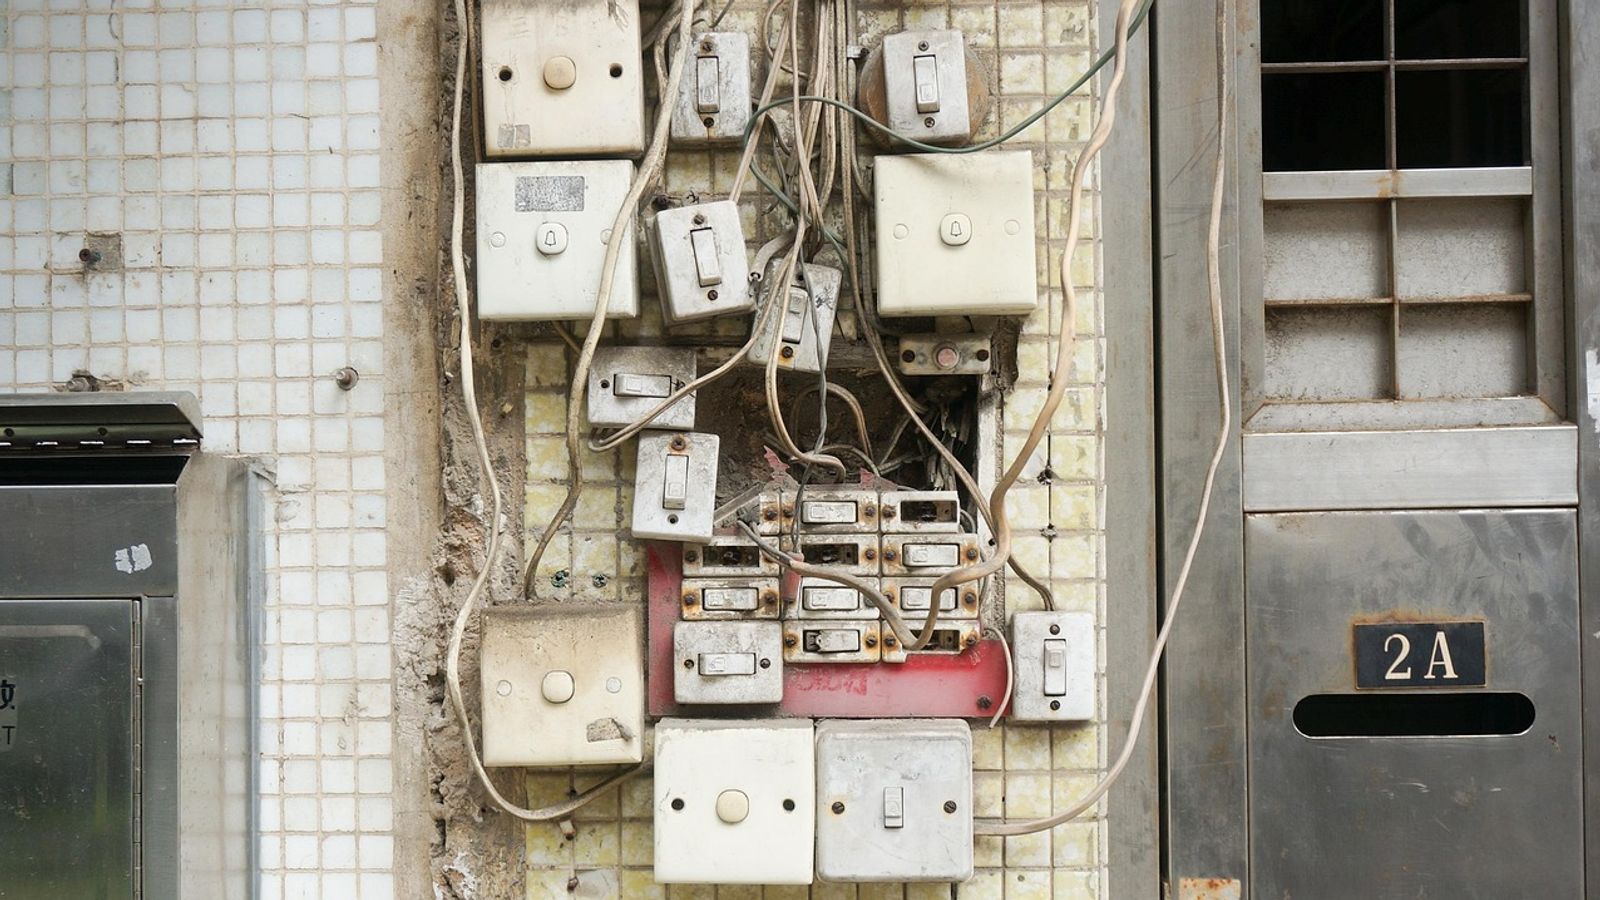
- Stop immediately and call a licensed electrician if you find aluminum wiring, knob-and-tube wiring, or damaged insulation.
- Do not proceed if the junction box moves when tugged—loose boxes create falling and fire hazards.
- Never support a fixture by its electrical wires during installation or removal.
- If you see more than three cables entering the junction box or wiring that doesn't match standard black-white-ground patterns, call a licensed electrician.
- Do not install a fixture heavier than the junction box's rated capacity.
- Place warning tape on the circuit breaker to prevent others from turning power back on while you work.
- If the fixture trips the breaker when turned on, do not reset repeatedly—call a licensed electrician immediately.
- Stop work if you smell burning plastic, see sparks, or hear buzzing at any point.
- Check with your local building department about permit requirements before beginning work.
Step by step
How to approach the work
- 1
Verify Power Is Off
With the circuit breaker off, use your non-contact voltage tester at the light switch and at the fixture location. Hold the tester near the switch with the switch in the on position—it should not beep or light up. At the fixture, test before removing any covers. If the tester indicates voltage at any point, return to the electrical panel and verify you've turned off the correct breaker. Do not proceed until you confirm zero voltage.
- 2
Remove the Old Fixture
Unscrew or unclip the fixture's cover, globe, or shade to access the mounting hardware. Most fixtures attach with a center finial nut, two mounting screws through a crossbar, or a twist-lock collar. Support the fixture body with one hand while removing the final fastener with the other. If the fixture is heavy or awkward, have a helper support it from below. Lower the fixture carefully to expose the wire connections inside the junction box.
- 3
Document the Wiring
Before disconnecting any wires, take a clear photograph of the connections with your phone. Note which fixture wire connects to which house wire. Standard connections are black to black (hot), white to white (neutral), and green or bare copper to bare copper (ground). If you see a red wire, it typically indicates a three-way switch configuration—stop here and call a licensed electrician unless you're certain you understand three-way wiring. Unscrew the wire nuts and gently untwist the wires, keeping house wires separated.
- 4
Inspect House Wiring and Box
With the old fixture removed, examine the house wires closely. They should be copper colored (or silver if aluminum), with intact insulation extending to within half an inch of the wire ends. Bend each wire gently—it should flex without cracking. If insulation cracks, flakes, or appears heat-damaged, stop and call a licensed electrician. Check that the junction box is firmly attached and that its interior is clean and free of debris. Remove any old wire nuts or tape.
- 5
Prepare the New Fixture
Unpack the new fixture and locate the manufacturer's instructions. Identify all mounting hardware, wire connectors, and any assembly steps required before installation. Some fixtures require you to attach a mounting bracket to the junction box first, while others hang from a center stud. Thread fixture wires through any necessary components in the correct order—you cannot add a canopy or collar after making wire connections. Measure fixture wire lengths; they should extend at least six inches from the mounting point to allow easy connections.
- 6
Install Mounting Hardware
Attach the new fixture's mounting bracket or crossbar to the junction box using the provided screws. The bracket must sit flush against the ceiling with no gaps. If the screws provided are too short or don't thread properly into the box's threaded holes, stop—do not force mismatched hardware or use screws that don't fit. The mounting hardware bears the fixture's entire weight, so proper fastening is critical. Tighten screws firmly but do not overtighten, which can crack the box or strip threads.
- 7
Make Wire Connections
Connect ground first: twist the fixture's ground wire (green or bare copper) together with the house ground wire, then secure with an appropriately sized wire nut. Tug gently on each wire—the connection should be solid. Next, connect neutral wires (white to white), then hot wires (black to black). Strip wire ends if necessary, leaving about half an inch of bare wire. Twist wires together clockwise using pliers, then thread a wire nut onto the twisted pair, turning clockwise until tight. Wrap electrical tape around the base of each wire nut for added security.
- 8
Secure the Fixture and Test
Carefully tuck wires into the junction box, folding them in a way that doesn't strain connections. Position the fixture canopy against the ceiling and secure it according to the manufacturer's instructions—typically with a center finial nut or mounting screws. Ensure the canopy sits flush against the ceiling with no gaps. Install bulbs of the correct type and wattage as specified in the fixture instructions. Return to the electrical panel, remove your warning tape, and switch the breaker on. Test the fixture with the wall switch. If it doesn't light, turn the breaker off immediately and recheck all connections.
Replacing a light fixture ranks among the most common electrical tasks homeowners consider tackling themselves. The work involves live electrical connections, overhead positioning, and weight-bearing hardware—factors that demand careful preparation and clear understanding of safety boundaries. A str
This guide focuses on the preparation phase and the decision framework you need before touching any fixture. Understanding what you're looking at, gathering the right tools, and recognizing stop conditions will help you approach the task safely or make an informed decision to hire a professional. Th
Understanding the Scope and Limits
Light-fixture replacement falls into two distinct categories: direct replacement and modification. Direct replacement means removing an existing fixture and installing a new one that uses the same junction box, the same number of wires, and similar weight. This scenario typically involves matching a
A careful homeowner can consider direct replacement when the existing junction box is securely fastened to a structural member, the wiring shows no signs of damage or deterioration, and the new fixture weighs less than the box's rated capacity. Stop and call a licensed electrician if you open the ju
Electrical work may be regulated by your local jurisdiction, and some areas require permits even for fixture replacement. Check with your local building department before beginning work. Manufacturer instructions for both the old and new fixtures provide essential guidance on weight limits, box requ
Gathering Tools and Materials
Proper tools make the difference between safe, efficient work and frustrating, potentially dangerous improvisation. You'll need a non-contact voltage tester to verify power is off—this is not optional. A headlamp or work light provides hands-free illumination once the existing fixture is removed. A
Additional items include wire nuts sized for the gauge and number of wires you'll connect, electrical tape, and a helper to support the fixture during installation. If the new fixture weighs more than five pounds, verify that the junction box is rated for ceiling fan support or the specific weight.
Read the new fixture's instructions completely before purchasing additional hardware. Some fixtures include proprietary mounting brackets, specialized bulbs, or specific wire-nut types. Buying the fixture without reviewing these requirements can lead to mid-project delays or incompatible components.
Identifying Your Electrical Configuration
Before turning off power, test your circuit identification. Turn on the light fixture you plan to replace, then switch off breakers one at a time until the light goes out. Label that breaker clearly. If you have a circuit directory in your electrical panel, verify its accuracy—many directories are o
Remove the existing fixture's cover or globe to expose the mounting hardware and junction box. Most fixtures attach with a center mounting nut, two screws into a crossbar, or a twist-and-lock mechanism. Observe how the fixture is supported before disconnecting anything. If you see a heavy fixture he
Examine the wires inside the junction box. Standard residential wiring uses black or red for hot, white for neutral, and bare copper or green for ground. You should see wire nuts connecting fixture wires to house wiring. If you see wires twisted together without wire nuts, wires wrapped only with ta
Assessing the Junction Box
The junction box provides structural support and contains electrical connections. It must be securely fastened to a ceiling joist, a fan-rated brace bar, or blocking between joists. Grasp the old fixture and gently wiggle it—the box should not move at all. Any movement indicates inadequate support t
Check the box for rating labels. Ceiling fan-rated boxes typically display "For Use With Ceiling Fans" or a weight rating. Standard junction boxes are rated for fixtures up to 50 pounds when properly supported, but many older boxes have lower limits. If your new fixture weighs more than the old one,
Look for the box's depth and shape. Pancake boxes—shallow round boxes often found in older homes—provide minimal wire capacity and may not accommodate modern fixtures with bulkier wire nuts or additional ground wires. If wires are crammed tightly with no room for additional connections, or if you ca
Preparing the Work Area
Clear the area beneath the fixture of furniture, rugs, and breakable items. Lay down a drop cloth to catch debris, screws, and wire nuts. Position your ladder so you can reach the fixture comfortably without leaning or stretching. Your shoulders should be at or slightly above the fixture when standi
If working in a room with multiple light sources, ensure you have adequate temporary lighting. A headlamp worn on your forehead keeps both hands free. Alternatively, position a work light on a stable surface aimed at the ceiling. Do not rely on natural light alone, as shadows inside the junction box
Inform everyone in your household that you'll be working on electrical circuits and that breakers should not be switched on until you give the all-clear. Place a piece of tape over the breaker you've turned off and write "Do Not Turn On" with a marker. This simple step prevents dangerous situations
Step-by-Step Fixture Replacement
Step 1: Verify Power Is Off
With the circuit breaker off, use your non-contact voltage tester at the light switch and at the fixture location. Hold the tester near the switch with the switch in the on position—it should not beep or light up. At the fixture, test before removing any covers. If the tester indicates voltage at an
Step 2: Remove the Old Fixture
Unscrew or unclip the fixture's cover, globe, or shade to access the mounting hardware. Most fixtures attach with a center finial nut, two mounting screws through a crossbar, or a twist-lock collar. Support the fixture body with one hand while removing the final fastener with the other. If the fixtu
Step 3: Document the Wiring
Before disconnecting any wires, take a clear photograph of the connections with your phone. Note which fixture wire connects to which house wire. Standard connections are black to black (hot), white to white (neutral), and green or bare copper to bare copper (ground). If you see a red wire, it typic
Step 4: Inspect House Wiring and Box
With the old fixture removed, examine the house wires closely. They should be copper colored (or silver if aluminum), with intact insulation extending to within half an inch of the wire ends. Bend each wire gently—it should flex without cracking. If insulation cracks, flakes, or appears heat-damaged
Step 5: Prepare the New Fixture
Unpack the new fixture and locate the manufacturer's instructions. Identify all mounting hardware, wire connectors, and any assembly steps required before installation. Some fixtures require you to attach a mounting bracket to the junction box first, while others hang from a center stud. Thread fixt
Step 6: Install Mounting Hardware
Attach the new fixture's mounting bracket or crossbar to the junction box using the provided screws. The bracket must sit flush against the ceiling with no gaps. If the screws provided are too short or don't thread properly into the box's threaded holes, stop—do not force mismatched hardware or use
Step 7: Make Wire Connections
Connect ground first: twist the fixture's ground wire (green or bare copper) together with the house ground wire, then secure with an appropriately sized wire nut. Tug gently on each wire—the connection should be solid. Next, connect neutral wires (white to white), then hot wires (black to black). S
Step 8: Secure the Fixture and Test
Carefully tuck wires into the junction box, folding them in a way that doesn't strain connections. Position the fixture canopy against the ceiling and secure it according to the manufacturer's instructions—typically with a center finial nut or mounting screws. Ensure the canopy sits flush against th
Verification and Testing
Once the fixture lights properly, turn it off and on several times to verify consistent operation. Gently press upward on the fixture canopy—it should be firmly attached with no movement. Check that the fixture hangs level; an unlevel fixture may indicate improper mounting or a bent crossbar. Let th
Inspect the ceiling around the junction box for any discoloration, cracks, or gaps that weren't present before. These may indicate you've disturbed the ceiling material or that the box shifted during installation. Minor cosmetic gaps can be filled with caulk, but structural movement requires profess
Troubleshooting Common Issues
If the fixture doesn't light after installation, verify the bulbs are good by testing them in a working lamp. Check that the wall switch is on and that the circuit breaker hasn't tripped. If these are correct, turn off the breaker and recheck your wire connections—a loose connection is the most comm
A fixture that trips the breaker when you turn it on indicates a short circuit, typically caused by hot and neutral wires touching or a damaged wire. This requires immediate attention from a licensed electrician. Do not repeatedly reset the breaker. If the fixture works but the wall switch doesn't c
Buzzing or humming from the fixture often relates to dimmer compatibility. LED and CFL bulbs require specific dimmer types; using an incompatible dimmer creates noise and can shorten bulb life. If your fixture is on a dimmer and you've switched bulb types, you may need to replace the dimmer switch—w
When to Stop and Call a Licensed Electrician
Several conditions require professional help regardless of your comfort level. Call a licensed electrician if you find aluminum wiring, which is silver-colored rather than copper and requires special connection methods. Stop if you encounter more than one hot wire in the box, indicating three-way or
If the junction box is loose, recessed too deeply into the ceiling, or missing entirely, a licensed electrician must install proper support and a code-compliant box. Do not attempt to patch, brace, or jury-rig box support yourself. If your new fixture weighs more than 50 pounds or is a ceiling fan,
Homes built before 1950 often have wiring systems that don't match modern standards. If you're uncertain about wire identification, if wires are cloth-covered, or if the insulation crumbles when touched, stop and consult a licensed electrician. Similarly, if you feel uncomfortable at any point, if s
Cleanup and Documentation
Once the fixture is installed and tested, clean up thoroughly. Dispose of the old fixture according to local regulations—some areas require special handling for fixtures containing certain materials. Save all leftover hardware, wire nuts, and the manufacturer's instructions in a labeled envelope sto
Update your circuit directory if you discovered any errors during breaker identification. Note the fixture model number, installation date, and bulb specifications in your home maintenance log. This information proves valuable for future bulb purchases, warranty claims, or when you eventually replac
Sources
Original information
- Home Electrical Safety Checklist — U.S. Consumer Product Safety Commission