
Prepare
Tools and materials
- Tape measure
- Non-contact voltage tester
- Screwdriver set
- Ladder or scaffolding
- Digital level or angle finder
- Flashlight
- Notepad and pencil
- Camera or smartphone for documentation
Safety boundary
Stop and reassess if
- Turn off power at the circuit breaker before inspecting or working on any electrical box, and verify power is off with a non-contact voltage tester.
- Never install a ceiling fan on an electrical box that is not specifically rated and marked for fan support.
- Do not use light dimmer switches to control ceiling fan motors; use only fan-rated speed controls.
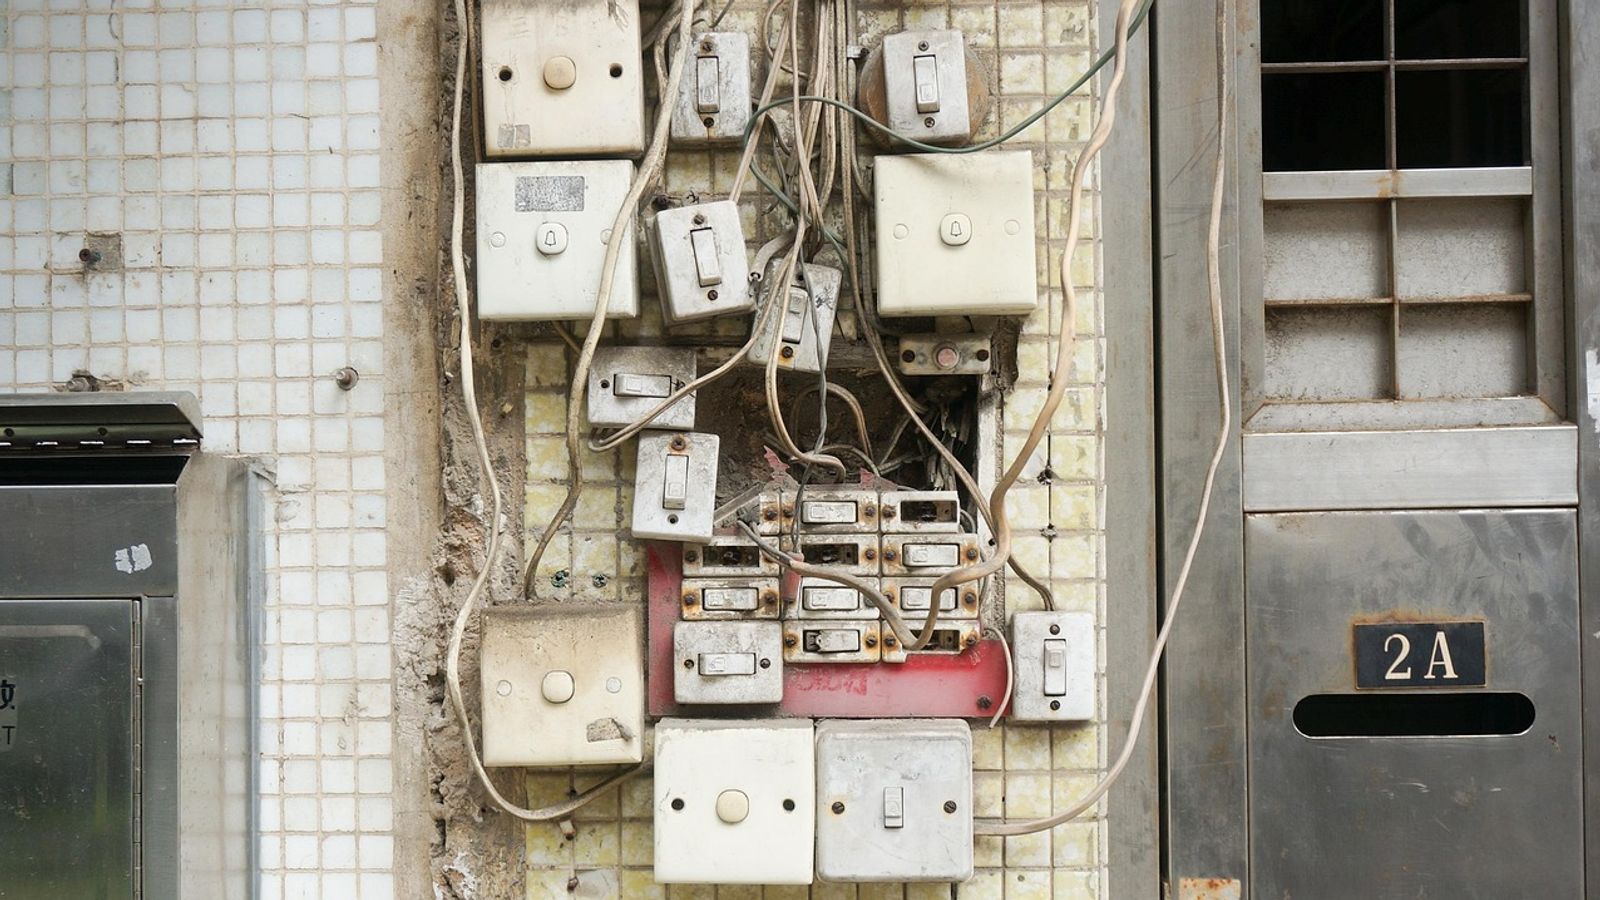
- Stop immediately and contact a licensed electrician if you discover two-wire cable without a ground, aluminum wiring, or knob-and-tube wiring.
- Do not attempt to install a ceiling fan on a sloped ceiling without manufacturer-approved slope adapters.
- Ensure ladder or scaffolding is stable and positioned to allow comfortable two-handed work at ceiling height.
- Do not proceed with installation if you cannot confirm secure attachment of the electrical box to structural framing.
- Ceiling fans in damp or wet locations require special ratings and installation methods that typically require a licensed electrician.
Step by step
How to approach the work
- 1
Measure the room dimensions and calculate square footage
Use a tape measure to record the length and width of the room in feet, measuring at floor level where furniture does not obstruct. Multiply length by width to determine square footage. For irregular rooms, divide the space into rectangular sections, calculate each area separately, and sum the results to find total square footage.
- 2
Determine the appropriate fan diameter for the space
Match your calculated square footage to manufacturer sizing guidelines: 29-36 inches for rooms up to 75 square feet, 36-42 inches for 76-144 square feet, 44-50 inches for 144-225 square feet, and 50-60 inches for 225-400 square feet. Verify that the selected diameter allows 18-24 inches of clearance from blade tips to all walls and at least 30 inches from any other ceiling fan.
- 3
Measure ceiling height and plan downrod length
Measure from floor to ceiling at the proposed fan location. For ceilings 8-9 feet high, plan for a flush-mount or hugger fan. For ceilings 9-10 feet high, select a 6-12 inch downrod. For ceilings above 10 feet, calculate the downrod length needed to position fan blades 7-9 feet above the floor, which maximizes airflow in the occupied zone.
- 4
Inspect the existing ceiling electrical box
Turn off power at the circuit breaker, verify power is off with a non-contact voltage tester, then remove the existing light fixture. Examine the electrical box for text indicating fan support approval, such as "Acceptable for Fan Support" or a weight rating of 70 pounds or higher. If no such marking exists, or if you cannot determine how the box attaches to structure, stop and contact a licensed electrician before proceeding.
- 5
Verify the electrical box mounting method
If you have attic access above the ceiling, go into the attic and locate the electrical box from above. Confirm that the box attaches directly to a ceiling joist with screws or bolts, or that it mounts to a metal brace spanning between two joists. If the box hangs from a single nail, attaches to drywall only, or uses an unknown mounting method, the installation requires professional retrofit of a fan-rated box.
- 6
Identify the circuit breaker and assess circuit load
With the existing fixture removed and power off, turn breakers off one at a time until you identify which breaker controls the ceiling box. Note the breaker amperage stamped on the handle. Turn off that breaker and test all other outlets and fixtures in the home to count how many devices share the circuit. If the circuit already serves multiple rooms or high-wattage loads, consult a licensed electrician to evaluate capacity.
- 7
Check for proper grounding conductor
Examine the wires in the ceiling electrical box. You should see a black (hot), white (neutral), and bare copper or green (ground) wire. If only black and white wires are present, the circuit lacks the equipment grounding conductor required for modern ceiling fans. Do not proceed with installation; contact a licensed electrician to evaluate grounding options and bring the circuit into compliance.
- 8
Evaluate switch configuration and control options
Count the number of switches in the wall box that currently controls the ceiling fixture. If you want separate control of fan and light, you need either two switches, a remote control system, or pull chains at the fan. Adding a second switch requires running new cable inside walls, which typically requires a licensed electrician. Decide on your control method before purchasing the fan to ensure compatibility.
- 9
Assess ceiling surface and slope conditions
Examine the ceiling material at the installation location. Note whether the surface is drywall, plaster, or textured, and whether the ceiling is level or sloped. Measure the slope angle if applicable using a digital level or angle finder. Verify that your selected fan includes appropriate hardware for sloped ceilings if the pitch exceeds a few degrees, and plan for texture repair or canopy sizing if the ceiling has heavy acoustic texture.
- 10
Confirm safe access for installation and maintenance
Set up the ladder or scaffolding you will use to reach the ceiling at the fan location. Verify that you can work comfortably at that height with both hands free and that the ladder position is stable. Consider how you will access the fan in the future for bulb changes and cleaning. If the height or location makes safe access difficult, plan for professional installation.
- 11
Review manufacturer specifications and installation requirements
Obtain the installation manual for your selected fan model, either from the manufacturer's website or the product packaging. Read the entire manual to identify required tools, box support specifications, minimum clearances, and any special requirements. Confirm that your ceiling box, room dimensions, and electrical circuit meet all manufacturer requirements before purchasing the fan.
- 12
Determine permit and inspection requirements
Contact your local building department or visit their website to learn whether a permit is required for ceiling fan installation in your jurisdiction. Ask whether homeowner-performed electrical work is permitted or whether a licensed electrician must perform the installation. Document any permit requirements, inspection procedures, and applicable code sections so you can ensure compliance throughout the project.
Installing a ceiling fan requires careful planning before you purchase equipment or touch any wiring. The two most critical factors that determine whether your project will succeed are the structural support at the ceiling and the relationship between fan size and room dimensions. A mismatch in eith
This guide walks you through the planning process so you can identify what your ceiling can support, calculate the correct fan size for your space, and recognize the boundaries where a licensed electrician must take over. You will learn to evaluate existing electrical boxes, measure rooms accurately
Understanding Ceiling Box Support Requirements
Standard electrical boxes designed for light fixtures cannot support the dynamic load and vibration of a ceiling fan. A typical octagonal or round ceiling box rated for lighting supports only static weight, usually up to 50 pounds. Ceiling fans create rotational forces and vibration that can loosen
Fan-rated electrical boxes carry specific markings that indicate approval for ceiling fan installation. Look for text stamped or molded into the box itself that reads "Acceptable for Fan Support," "For Use With Ceiling Fans," or similar language, often accompanied by a weight rating such as 70 pound
If you cannot access the attic or ceiling cavity to inspect the box directly, you face a significant unknown. Removing the existing light fixture exposes only the box opening, not the mounting method behind the drywall or plaster. Without visual confirmation of fan-rated hardware or direct attachmen
Retrofit fan-rated boxes exist for situations where the existing box mounts to a single joist or hangs from an adjustable bar between joists. These products typically include a metal brace that expands to bear against two joists, with a fan-rated box attached at the center. Installation requires att
Calculating Room Size and Fan Diameter
Ceiling fan effectiveness depends on matching blade span to room area. Manufacturers publish sizing charts that correlate square footage with recommended fan diameter, but these charts assume standard ceiling heights of eight to nine feet. Rooms with higher ceilings, irregular shapes, or open floor
Measure the room length and width in feet, then multiply to find square footage. For rectangular rooms, this calculation is straightforward. For L-shaped or irregular spaces, divide the area into rectangles, calculate each section separately, and add the results. Rooms up to 75 square feet typically
Blade clearance from walls and obstructions matters as much as total diameter. Most manufacturers specify a minimum distance of 18 to 24 inches from blade tips to the nearest wall, and at least 30 inches from any adjacent ceiling fan. Insufficient clearance creates turbulent airflow, increases noise
Ceiling height affects both fan selection and mounting method. Standard flush-mount or hugger fans work in rooms with ceilings eight to nine feet high, positioning blades seven to nine feet above the floor. For ceilings nine to ten feet high, a short downrod of six to twelve inches improves air circ
Evaluating Electrical Circuit Capacity
Ceiling fans draw relatively modest current, typically 0.5 to 1.5 amperes for the motor and an additional 0.5 to 2 amperes if the fan includes an integral light kit. However, the circuit serving the ceiling box may already carry other loads, and adding a fan could exceed the circuit breaker rating o
Identify the circuit breaker that controls the ceiling box by turning off breakers one at a time until the existing light fixture goes dark. Note the breaker amperage, which is stamped on the breaker handle—typically 15 or 20 amperes for lighting circuits. Count the number of other fixtures, outlets
Older homes with knob-and-tube wiring, aluminum branch circuits, or ungrounded two-wire systems present additional complications. Modern ceiling fans with electronic controls and LED light kits often require an equipment grounding conductor that may not exist in these older installations. Attempting
Identifying Switch and Control Compatibility
Ceiling fans require specific control methods that differ from standard light switches. A fan with an integral light needs separate control for the fan motor and light, typically achieved through a dual switch, a remote control receiver, or pull chains at the fan itself. If your existing wall box co
Adding a second switch requires running new cable from the switch box to the ceiling box, which involves opening walls and fishing wire through stud bays. This task quickly escalates beyond typical homeowner skills, particularly in finished spaces where drywall repair and paint matching become neces
Dimmer switches designed for incandescent or LED lighting are not compatible with ceiling fan motors. Applying a standard dimmer to a fan motor causes overheating, hum, and potential motor damage. If you want variable fan speed, the fan must include a built-in speed control accessed via pull chain,
Assessing Ceiling Material and Finish
The ceiling surface affects both the installation process and the final appearance. Drywall ceilings with paint or texture are the most common and generally the easiest to work with, provided the electrical box mounts securely to framing. Plaster ceilings, especially in homes built before 1950, are
Popcorn or acoustic texture complicates fan installation because the canopy must seal against an irregular surface. Gaps between the canopy and textured ceiling allow air to escape, reducing fan efficiency and creating visible shadows. Some installers scrape texture away in a circle slightly larger
Vaulted, cathedral, or sloped ceilings require special mounting hardware. Standard fan canopies and downrods assume a level ceiling, and installing them on a slope causes the fan to hang at an angle, which creates dangerous wobble and bearing wear. Ceiling fan manufacturers offer slope adapters or a
Planning for Future Maintenance Access
Ceiling fans require periodic maintenance that includes blade cleaning, motor lubrication on some models, and bulb replacement in light kits. Before selecting a fan and installation location, consider how you will safely reach the unit for routine service. A fan installed in a two-story foyer or abo
Fans with removable light kits and accessible blade attachments simplify maintenance. Models that require disassembly of the motor housing or canopy to change bulbs or clean blades add time and complexity to routine tasks. Review the manufacturer's instructions before purchase to understand the main
When to Stop and Call a Licensed Electrician
Several conditions require professional evaluation and installation. If you cannot confirm that the existing electrical box is fan-rated and securely attached to structural framing, do not proceed. If the ceiling box contains only two wires without a ground, or if you discover aluminum wiring, knob-
Installing a new electrical box, running new circuits, or modifying existing wiring to add switches or controls falls under the scope of electrical work that requires a license in most jurisdictions. Even if local regulations permit homeowner electrical work, the complexity and safety implications o
Ceiling fans in wet or damp locations—covered porches, bathrooms, or outdoor areas—must carry specific ratings for moisture exposure. These installations involve additional code requirements for ground-fault protection, wet-location boxes, and corrosion-resistant materials. Do not attempt to install
Check with your local building department to determine whether permits and inspections are required for ceiling fan installation. Some jurisdictions require permits for any electrical work, while others exempt simple fixture replacement. Manufacturer instructions may also specify installation requir
Sources
Original information
- Home Electrical Safety Checklist — U.S. Consumer Product Safety Commission