
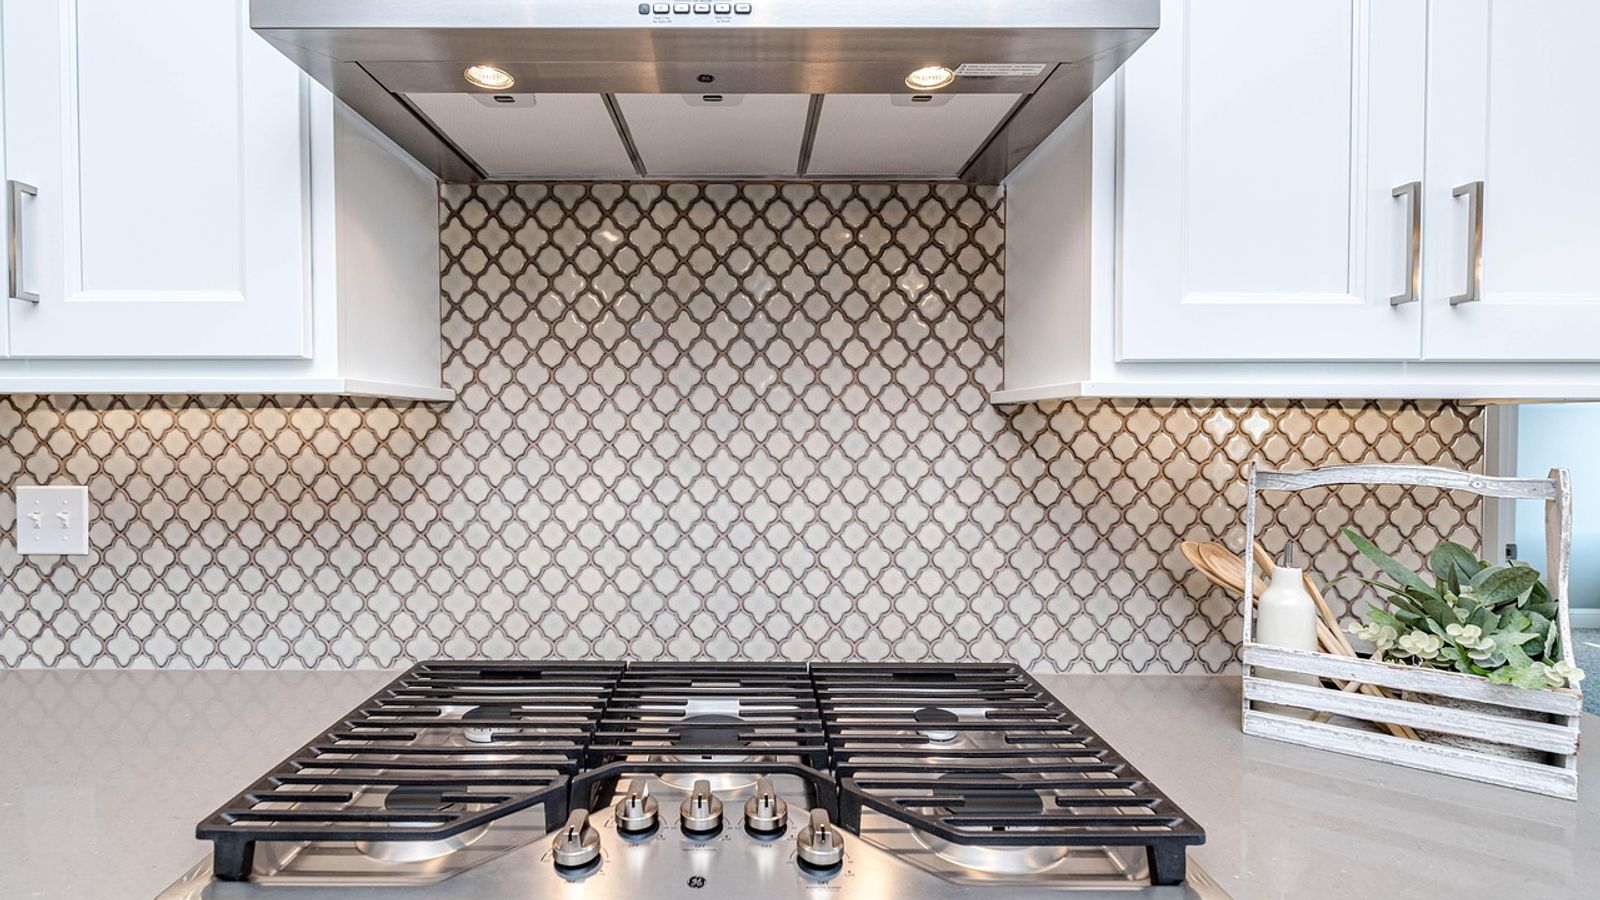
Prepare
Tools and materials
- stepladder or stable stool
- degreasing dish soap or kitchen degreaser
- large sink or basin
- soft-bristle brush
- microfiber cloths
- flashlight
- camera or smartphone
- baking soda (optional)
- commercial degreaser (optional)
- hot water
- replacement charcoal filters (if applicable)
Safety boundary
Stop and reassess if
- Disconnect power at the circuit breaker before starting any maintenance work
- Allow the fan motor and light bulbs to cool for at least ten minutes before touching components
- Never work on the range hood with wet hands or while standing in water
- Do not use abrasive scrubbers on stainless steel or painted surfaces
- Stop immediately if you discover damaged wiring, burning smells, or electrical arcing
- Do not attempt to disassemble the fan motor or access internal electrical components
- Support filter weight during removal to prevent dropping and injury
- Ensure filters are completely dry before reinstallation to prevent electrical hazards
- Do not bypass safety switches or use extension cords to power the range hood
- Contact a professional for any motor, electrical, or ductwork repairs beyond basic cleaning
Step by step
How to approach the work
- 1
Remove and Photograph Metal Filters
With power disconnected, locate the filter release latches on the underside of the range hood. Take a photo showing the filter orientation and any directional arrows before removal. Squeeze or pull the release mechanism and carefully lower each filter, supporting its weight to prevent dropping. Place filters on a protected work surface and inspect them for damage such as bent baffles, torn mesh, or broken frames.
- 2
Soak Filters in Hot Degreasing Solution
Fill a large sink, basin, or bathtub with the hottest water your plumbing provides. Add a generous amount of degreasing dish soap or kitchen degreaser according to product instructions. Submerge the metal filters completely and let them soak for 15 to 30 minutes to loosen grease deposits. For heavily soiled filters, extend soaking time to one hour or add a half-cup of baking soda to boost cleaning power.
- 3
Scrub and Rinse Filters Thoroughly
Use a soft-bristle brush to scrub both sides of each filter, working along the baffle channels or mesh pattern to dislodge trapped grease. Pay special attention to corners and frame edges where buildup accumulates. Rinse each filter under hot running water until the water runs clear and no soap residue remains. Shake off excess water and stand filters on edge to air-dry completely before reinstallation.
- 4
Clean the Hood Underside and Interior Surfaces
While filters dry, spray the underside of the range hood with degreaser or wipe it with a cloth dampened in hot soapy water. Remove grease from the filter mounting frame, light fixtures, and any exposed interior surfaces you can reach without disassembling components. Use a flashlight to inspect the blower housing visible through the filter opening, noting any heavy grease accumulation that may require professional cleaning. Wipe all surfaces dry with clean microfiber cloths.
- 5
Inspect and Replace Charcoal Filters if Applicable
If you have a ductless recirculating hood, locate the charcoal filter behind or above the metal filter mounting area. Check the filter's condition by noting its color and odor—saturated charcoal appears dark and may smell stale. If the filter has been in service for three to six months or shows signs of saturation, remove it according to the manufacturer's instructions and install a new replacement. Do not attempt to wash or reuse charcoal filters.
- 6
Examine Fan Blades and Motor Housing
Using a flashlight, look through the filter opening to inspect visible fan blades for grease buildup or damage. If you can see the blower wheel and it appears heavily coated with grease, note this condition for professional cleaning—do not attempt to access internal components yourself. Check that no objects, debris, or grease deposits obstruct the fan's rotation. Look for any loose wires, damaged insulation, or signs of overheating such as discolored plastic or melted components.
- 7
Verify Ductwork Connections and Damper Operation
For ducted systems, inspect the duct connection at the top or rear of the hood cabinet. Verify that the transition is secure and that metal foil tape or clamps hold the connection tightly. If accessible, check that the backdraft damper moves freely—it should close when the fan is off and open when air flows. Look for grease accumulation around duct seams, which indicates air leakage that may need professional sealing.
- 8
Reinstall Filters and Restore Power
Once metal filters are completely dry, align them with the mounting frame using your reference photos to ensure correct orientation. Slide or lift each filter into position until the latch mechanism clicks or locks securely. Tug gently on each filter to confirm it is seated properly and will not fall during operation. Return to the circuit breaker and restore power to the range hood, then proceed to the verification tests.
- 9
Test All Fan Speeds and Light Functions
Turn on the range hood at the lowest fan setting and listen for smooth operation without unusual noises. Cycle through all speed settings, verifying that each produces a distinct increase in airflow and sound. Test all light switches and verify that bulbs illuminate properly. If any function fails or if you hear grinding, rattling, or intermittent operation, shut off power immediately and contact an appliance repair technician.
- 10
Perform Airflow and Seal Verification
With the fan running at medium speed, hold a tissue paper sheet near the filter surface to confirm strong suction. Move the paper across different areas of the filter to check for consistent airflow. Run your hand around the filter perimeter to detect any air leaks that would indicate improper seating. For ducted systems, go outside and verify that the exterior vent produces strong airflow and that the vent flap opens fully.
- 11
Document Maintenance and Set Next Service Date
Record the maintenance date, any observations about component condition, and the date when charcoal filters were last replaced if applicable. Set a calendar reminder for your next filter cleaning based on cooking frequency—monthly for heavy use, quarterly for moderate use. Note any concerns such as reduced airflow, unusual noises, or grease escape that may require monitoring or professional attention before the next scheduled maintenance.
A range hood removes smoke, steam, grease particles, and cooking odors from your kitchen by drawing air through metal filters and either venting it outdoors or recirculating it through charcoal filters. Over time, grease accumulates on the filters and internal surfaces, reducing airflow efficiency a
Range hoods fall into two categories: ducted systems that exhaust air outside through ductwork, and ductless recirculating models that filter air and return it to the kitchen. Ducted hoods use metal mesh or baffle filters to trap grease before air enters the duct. Ductless models add charcoal or act
Preparation and Safety Boundaries
Before starting any range hood maintenance, turn off the unit and disconnect power at the circuit breaker. Range hoods operate on standard 120-volt household circuits, but working near electrical components with wet hands or cleaning solutions creates shock risk. Wait at least ten minutes after shut
Gather your cleaning supplies and tools before removing any components. You will need a degreasing dish soap or a dedicated kitchen degreaser, hot water, a large sink or basin, soft-bristle brushes, microfiber cloths, a flashlight, and a stepladder or stable stool. For stubborn grease, baking soda p
This maintenance task involves cleaning accessible filters, inspecting visible components, and verifying airflow. It does not include disassembling the fan motor, accessing internal wiring, repairing electrical switches, replacing the fan motor, or modifying ductwork. If you discover damaged wiring,
Identifying Your Filter Type and Access Points
Most range hoods use removable metal filters located on the underside of the unit, directly above the cooking surface. Baffle filters consist of vertical metal slats arranged in a frame, designed to change airflow direction and trap grease through momentum. Mesh filters use layers of woven or perfor
Locate the filter release mechanism by examining the underside of the hood. Many filters have a spring-loaded latch, tab, or handle that you squeeze or pull to release the filter from its frame. Some models use a simple slide-and-drop design where the filter tilts down once you push it backward. Tak
Tools and Materials
Check your ductwork connections if you have a ducted system. Look at the top or rear of the range hood cabinet for a round or rectangular duct transition. Verify that the duct connection is secure and that no visible gaps exist where grease-laden air could escape into the cabinet or wall cavity. If
Step-by-Step Filter and Airflow Refresh
With power disconnected and your work area prepared, you can now proceed through the maintenance sequence. Work methodically and verify each component's condition as you go. If you encounter damage, corrosion, or conditions beyond simple cleaning, note them for professional evaluation rather than at
Verification and Performance Check
After reassembling all components and restoring power, test the range hood's operation before considering the job complete. Turn on the fan at its lowest setting and listen for smooth, consistent operation without rattling, grinding, or unusual vibration. Gradually increase the fan speed through all
Test airflow strength by holding a single sheet of tissue paper near the filter surface while the fan runs at medium speed. The paper should be drawn firmly against the filter and held in place by suction. For ducted systems, go outside and locate the exterior vent cap while the hood operates at ful
Check for air leaks around the filter frames by running your hand along the perimeter while the fan operates. You should not feel air being drawn in around the edges—all airflow should pass through the filter surface. Gaps indicate improper filter seating or damaged gaskets. Remove and reinstall the
Troubleshooting Common Issues
If filters remain greasy after washing, they may need a second cleaning cycle with stronger degreaser or a longer soaking period. Create a paste from baking soda and water, apply it to heavily soiled areas, and let it sit for 30 minutes before scrubbing and rinsing. Extremely neglected filters with
Persistent odors after cleaning usually indicate that charcoal filters in ductless systems have reached the end of their service life. These filters cannot be cleaned or regenerated—they must be replaced. Check your owner's manual for the replacement interval, typically every three to six months dep
Reduced airflow despite clean filters and clear ducts may result from a clogged exterior vent cap, especially in climates where lint, leaves, or ice accumulation occurs. Inspect the exterior vent while the hood operates and clear any visible obstructions. If the vent damper does not open fully or ap
Grease dripping from the hood or filters indicates that cleaning intervals are too long for your cooking habits. Increase your maintenance frequency to monthly or even biweekly if you cook with high heat or fry foods regularly. Consider whether your hood's capacity matches your cooking style—undersi
When to Call a Professional
Contact a qualified appliance repair technician if the fan motor fails to start, runs intermittently, or produces burning smells. Motor replacement requires electrical disconnection, mounting hardware removal, and proper wire termination—work that exceeds basic homeowner maintenance. Similarly, if c
Ductwork problems beyond simple cleaning require professional evaluation. If you discover crushed ducts, improper duct materials, missing fire dampers, or ductwork that terminates in an attic or wall cavity instead of outdoors, contact an HVAC contractor or licensed home improvement professional. Im
If you find evidence of electrical problems—scorched wire insulation, melted plastic components, tripped breakers that recur after resetting, or any sparking or arcing—do not operate the range hood. These conditions indicate serious electrical faults that pose fire and shock hazards. Contact a licen
Structural concerns such as loose mounting, sagging hood cabinets, or separation from the wall require immediate attention. Range hoods are heavy appliances that must be securely fastened to wall studs or ceiling joists with appropriate fasteners. If mounting hardware has loosened or if you notice m
Sources
Original information
- Consumer Guide to Kitchen Appliances — U.S. Department of Energy
- WaterSense Home Maintenance — U.S. Environmental Protection Agency