
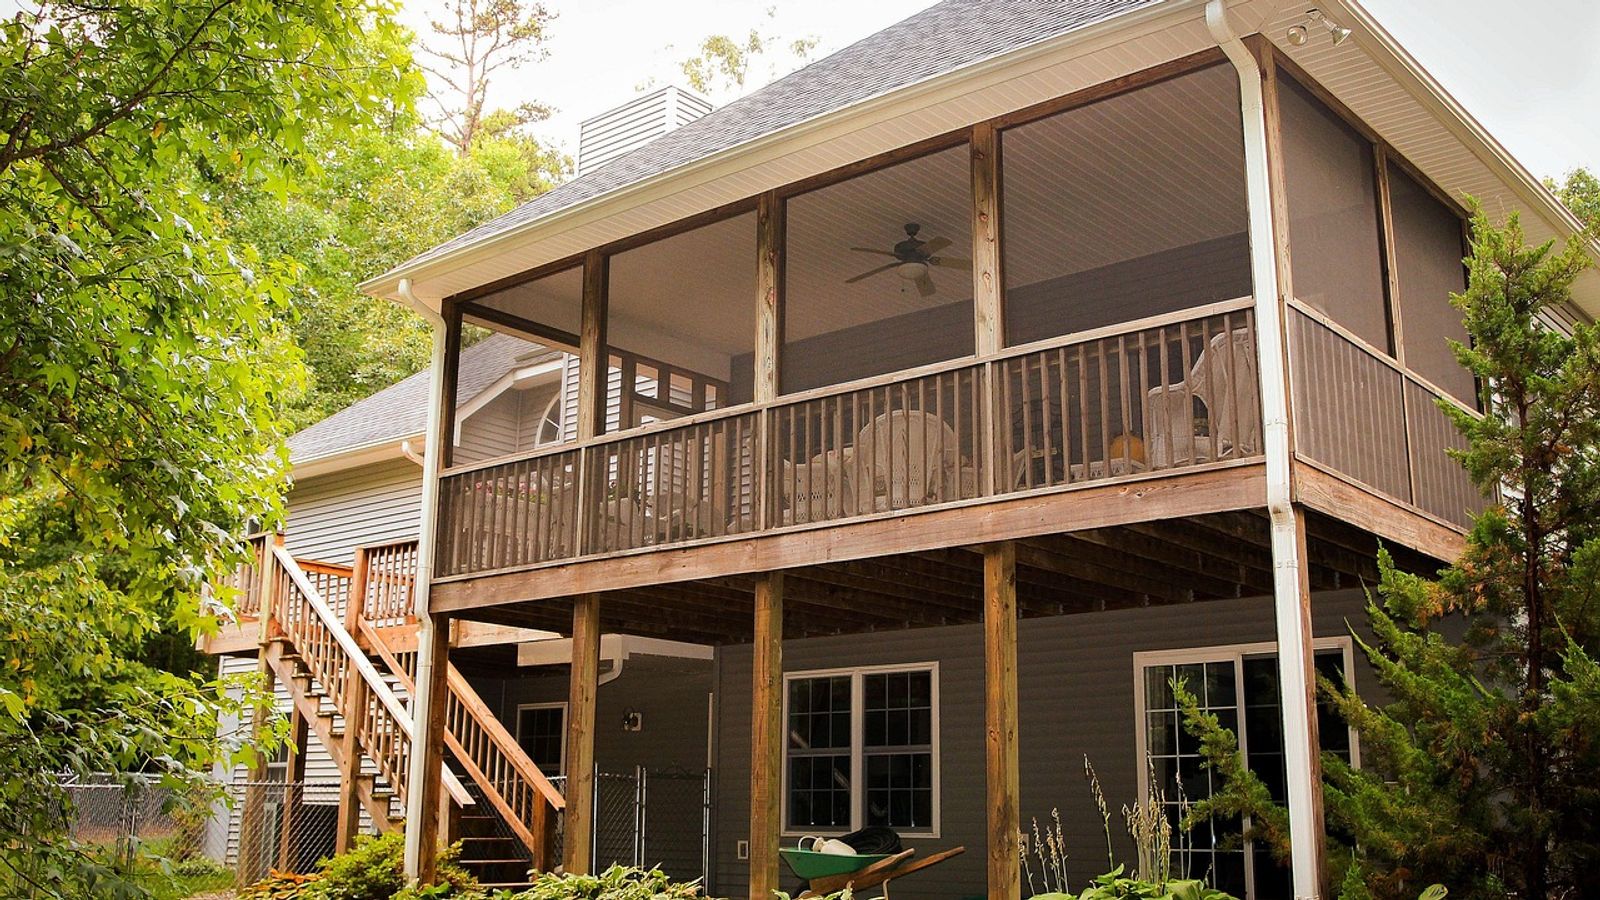
Prepare
Tools and materials
- stiff-bristle deck brush
- garden hose with spray nozzle
- five-gallon buckets
- deck cleaner
- deck brightener
- protective sheeting
- safety glasses
- chemical-resistant gloves
- rubber boots
- paint scraper
- carbide scraper blade
- chemical stripper
- orbital sander
- 60-grit sandpaper
- 80-grit sandpaper
- pole sander
- detail sander
- sanding blocks
- pressure washer (1200-1500 PSI)
- pump sprayer
- deck screws
- exterior wood filler
- drill with countersink bit
- hammer
- pry bar
- circular saw
- carpenter's square
- moisture meter
- tack cloth
- leaf blower
Safety boundary
Stop and reassess if
- Wear safety glasses, chemical-resistant gloves, and long sleeves when handling deck cleaners and brighteners
- Never mix different cleaning chemicals together
- Keep children and pets away from work area until all products are rinsed and surfaces are dry
- Cover or move plants, outdoor furniture, and grills before starting work
- Never point pressure washer wand at people, animals, or yourself
- Wear closed-toe shoes with good traction on wet deck surfaces
- Do not use pressure washer from a ladder
- Stop work and consult a professional if you discover extensive rot, structural cracks, or unsafe conditions
- Do not attempt repairs to electrical fixtures or gas lines without appropriate expertise
- Verify building code compliance for railing repairs on elevated decks
Step by step
How to approach the work
- 1
Clear and Protect the Area
Remove all furniture, planters, grills, and decorative items from the deck surface and surrounding area. Sweep away loose debris, leaves, and dirt using a stiff broom. Cover nearby plants, shrubs, and landscaping with plastic sheeting or drop cloths, securing the edges with stakes or weights. Tape plastic sheeting over exterior light fixtures, outlets, and any areas where water intrusion could cause damage.
- 2
Make Structural and Surface Repairs
Drive down any protruding nails or replace them with deck screws, countersinking the heads slightly below the surface. Replace cracked, split, or severely damaged boards by removing fasteners and prying up the old board, then cutting a replacement to length and securing it with corrosion-resistant deck screws. Fill small cracks, gouges, and countersunk screw holes with exterior wood filler, overfilling slightly to allow for shrinkage. Let filler cure according to manufacturer instructions, typically 24 hours, before proceeding.
- 3
Remove Loose and Flaking Finish
Use a paint scraper or carbide scraper to remove any peeling, flaking, or loose finish from the deck surface, railings, and stairs. Work in the direction of the wood grain to avoid gouging. For solid stains or thick film-forming finishes, apply a chemical stripper according to the product instructions, allowing adequate dwell time before scrubbing and rinsing. Remove as much old finish as possible in areas where it is failing, but do not worry about removing finish that is still tightly bonded—the cleaning and sanding steps will address adhesion.
- 4
Apply Deck Cleaner
Mix deck cleaner according to manufacturer instructions in a five-gallon bucket. Working in sections of approximately 100 square feet, apply the solution using a pump sprayer or mop, ensuring complete coverage. Allow the cleaner to work for the recommended time, typically 10 to 15 minutes, but do not let it dry on the surface. Scrub the deck thoroughly with a stiff-bristle brush, working in the direction of the wood grain and paying extra attention to areas with mildew, dirt buildup, or traffic patterns.
- 5
Rinse Thoroughly
Rinse the cleaned section completely with a garden hose or pressure washer set to low pressure with a fan tip. If using a pressure washer, hold the wand 12 to 18 inches from the surface and maintain a consistent distance to avoid creating uneven wear patterns or furring the wood. Overlap each pass slightly and keep the wand moving to prevent concentrated streams from damaging the wood. Rinse until all cleaner residue is removed and runoff water is clear, then move to the next section and repeat the cleaning process.
- 6
Apply Deck Brightener
After the entire deck has been cleaned and rinsed, allow it to dry for 24 to 48 hours depending on weather conditions. Mix deck brightener according to product instructions and apply it to the entire surface using a pump sprayer or mop. Brightener neutralizes alkaline cleaners, restores the wood's natural pH, and opens the grain for better stain penetration. Let the brightener work for the recommended time, typically 10 to 15 minutes, then scrub lightly and rinse thoroughly.
- 7
Sand the Surface
Once the deck is completely dry, typically 48 to 72 hours after brightening, sand the entire surface to remove raised grain and create a smooth finish. Start with 60-grit sandpaper on an orbital sander or pole sander for large flat areas, working in the direction of the grain. Follow with 80-grit sandpaper to create a smooth surface that will accept stain evenly. Sand railings, balusters, and stairs using detail sanders or sanding blocks. Vacuum or sweep away all sanding dust, then wipe surfaces with a tack cloth or damp rag to remove fine particles.
- 8
Perform Final Inspection and Cleaning
Examine the entire deck surface in good lighting, looking for any remaining rough spots, splinters, or areas that need additional sanding. Run your hand over the wood—it should feel smooth and uniform with no raised grain or rough patches. Check that all repairs are flush with surrounding surfaces and that no fastener heads protrude. Sweep or vacuum the deck one final time, then use a leaf blower to remove dust from cracks, joints, and hard-to-reach areas. The deck is now ready for stain application, which should occur within 24 to 48 hours to prevent the wood from absorbing moisture or accumulating new dirt.
Proper preparation determines whether your deck stain will last two years or ten. A new coat of stain applied over dirt, mildew, old flaking finish, or damaged wood will peel and fail quickly, wasting your time and money. The preparation process removes contaminants, opens the wood grain to accept s
This guide covers the complete preparation sequence for a wood deck that will receive a new stain or sealer. The work involves cleaning, repairing structural issues, removing old finish, sanding, and final cleaning. A careful homeowner can complete this project with common tools and rental equipment
Assessing Your Deck and Planning the Work
Walk your entire deck and examine the wood closely. Look for loose boards, protruding nails or screws, splintered areas, rot, and structural damage. Press a screwdriver into suspicious areas—sound wood resists penetration, while rotted wood feels soft and crumbles. Check the condition of any existin
Determine what type of finish currently exists on your deck. Water-based stains and sealers can usually accept new coatings after cleaning, while oil-based products and solid stains often require complete removal. Pour a small amount of water on the deck surface—if it beads up, the old finish is sti
Identify any structural repairs that exceed typical homeowner maintenance. Joists with significant rot, beams with cracks or splits, ledger boards pulling away from the house, and posts with decay at ground level require evaluation by a qualified contractor or structural engineer. Railings that wobb
Gathering Tools and Materials
You will need a stiff-bristle deck brush, garden hose with spray nozzle, five-gallon buckets, deck cleaner appropriate for your wood type, deck brightener, protective sheeting for plants and siding, and personal protective equipment including safety glasses, chemical-resistant gloves, and rubber boo
Consider renting a pressure washer rated between 1,200 and 1,500 PSI with a fan tip nozzle. Higher pressure can damage wood fibers and raise grain excessively, creating more sanding work and potentially shortening the life of your deck. If you choose to rent a pressure washer, also obtain the approp
For repairs, stock deck screws in appropriate lengths, wood filler rated for exterior use, replacement boards matching your deck species and dimensions, and a drill with countersink bit. Keep a hammer, pry bar, circular saw, and carpenter's square on hand for board replacement. Purchase all cleaning
Safety Considerations and Boundaries
Deck cleaners and brighteners contain acids, alkalis, or oxidizers that can burn skin and eyes. Always wear safety glasses, chemical-resistant gloves, and long sleeves when handling these products. Never mix different cleaning chemicals, as dangerous reactions can occur. Keep children and pets away
Pressure washers generate enough force to cut skin and inject water beneath the surface, causing serious injury. Never point the wand at people, animals, or yourself. Wear closed-toe shoes with good traction, as wet deck surfaces become extremely slippery. Maintain secure footing and never use a pre
Stop work and consult a qualified professional if you discover extensive rot affecting more than 20 percent of deck boards, structural members with cracks or splits, ledger boards with gaps or movement, or any condition that suggests the deck may be unsafe. Do not attempt repairs to electrical fixtu
Steps to Prepare Your Deck for Staining
Step 1: Clear and Protect the Area
Remove all furniture, planters, grills, and decorative items from the deck surface and surrounding area. Sweep away loose debris, leaves, and dirt using a stiff broom. Cover nearby plants, shrubs, and landscaping with plastic sheeting or drop cloths, securing the edges with stakes or weights. Tape p
Step 2: Make Structural and Surface Repairs
Drive down any protruding nails or replace them with deck screws, countersinking the heads slightly below the surface. Replace cracked, split, or severely damaged boards by removing fasteners and prying up the old board, then cutting a replacement to length and securing it with corrosion-resistant d
Step 3: Remove Loose and Flaking Finish
Use a paint scraper or carbide scraper to remove any peeling, flaking, or loose finish from the deck surface, railings, and stairs. Work in the direction of the wood grain to avoid gouging. For solid stains or thick film-forming finishes, apply a chemical stripper according to the product instructio
Step 4: Apply Deck Cleaner
Mix deck cleaner according to manufacturer instructions in a five-gallon bucket. Working in sections of approximately 100 square feet, apply the solution using a pump sprayer or mop, ensuring complete coverage. Allow the cleaner to work for the recommended time, typically 10 to 15 minutes, but do no
Step 5: Rinse Thoroughly
Rinse the cleaned section completely with a garden hose or pressure washer set to low pressure with a fan tip. If using a pressure washer, hold the wand 12 to 18 inches from the surface and maintain a consistent distance to avoid creating uneven wear patterns or furring the wood. Overlap each pass s
Step 6: Apply Deck Brightener
After the entire deck has been cleaned and rinsed, allow it to dry for 24 to 48 hours depending on weather conditions. Mix deck brightener according to product instructions and apply it to the entire surface using a pump sprayer or mop. Brightener neutralizes alkaline cleaners, restores the wood's n
Step 7: Sand the Surface
Once the deck is completely dry, typically 48 to 72 hours after brightening, sand the entire surface to remove raised grain and create a smooth finish. Start with 60-grit sandpaper on an orbital sander or pole sander for large flat areas, working in the direction of the grain. Follow with 80-grit sa
Step 8: Perform Final Inspection and Cleaning
Examine the entire deck surface in good lighting, looking for any remaining rough spots, splinters, or areas that need additional sanding. Run your hand over the wood—it should feel smooth and uniform with no raised grain or rough patches. Check that all repairs are flush with surrounding surfaces a
Verifying Readiness for Stain
Confirm that the wood is dry enough to accept stain by checking moisture content. The surface should feel completely dry to the touch, and the wood should have returned to its natural color rather than appearing dark from moisture. Most stains require wood moisture content below 15 percent—you can v
Check weather forecasts before scheduling stain application. You need at least 24 to 48 hours of dry weather with temperatures in the range specified by your stain manufacturer, typically between 50 and 90 degrees Fahrenheit. Avoid staining when rain is forecast within 24 hours or when heavy dew is
Troubleshooting Common Preparation Issues
If wood remains dark or discolored after cleaning and brightening, the staining may be from tannins, mildew, or iron deposits. Apply a second treatment of deck cleaner and brightener, allowing longer dwell time. Persistent black spots often indicate mildew that has penetrated deeply—these areas may
Fuzzy or furry wood grain after cleaning indicates over-aggressive pressure washing or excessive water exposure. Sand these areas more thoroughly with 60-grit sandpaper to remove loose fibers, then finish with 80-grit. If large areas are affected, you may need to sand the entire deck with a coarser
Boards that remain cupped, warped, or uneven after cleaning should be evaluated for replacement. Minor cupping can be addressed by driving additional screws along the edges to pull boards flat, but severely warped boards will not hold stain evenly and should be replaced. If more than 30 percent of y
When to Call a Professional
Contact a qualified deck contractor or structural engineer if you discover rot in joists, beams, or posts; cracks in structural members; ledger boards that have pulled away from the house; or any condition that affects the deck's structural integrity. These issues require expertise in load-bearing c
Consider professional help if your deck exceeds 500 square feet, includes multiple levels, or has complex architectural features that make preparation difficult. Professional deck restoration companies have commercial-grade equipment, specialized cleaning products, and experience that can save time
Consult your local building department before making structural repairs or modifications to railings, stairs, or guardrails. Current building codes may differ from those in effect when your deck was built, and repairs may need to meet updated standards. A building inspector can advise whether your p
Sources
Original information
- Online Permit Submission — City of Jacksonville
- Florida Building Code Resources — Florida Building Commission