
Prepare
Tools and materials
- Towels
- Shallow pan or bucket
- Sponge
- Flashlight
- Work gloves
- Needle-nose pliers
- Toothpick or straightened paperclip
- Soft brush or old toothbrush
- Screwdriver set (flathead and Phillips)
- Adjustable pliers or wrench
- Bottle brush
- Plumber's snake (if needed for drain hose)
- Replacement parts (filter, gasket, or spray arms as needed)
Safety boundary
Stop and reassess if
- Always disconnect electrical power before beginning any dishwasher repair work
- Turn off the water supply valve before disconnecting hoses or working on water connections
- Never work on hardwired electrical connections unless you are a qualified electrician
- Place towels on the floor to catch residual water and prevent slip hazards
- Wear gloves when removing debris from the filter or sump area to protect against sharp objects
- Do not use regular dish soap in a dishwasher as it creates excessive suds and can cause leaks
- Stop work immediately if you discover damaged electrical wiring or smell burning odors
- Ensure the garbage disposal power is off before reaching into the disposal inlet
- Do not force components during disassembly; consult the manual if parts do not release easily
- Allow the dishwasher to cool completely if working after a recent cycle to avoid burns from hot water or heating element
Step by step
How to approach the work
- 1
Disconnect Power and Water Supply
Unplug the dishwasher from the electrical outlet under the sink, or turn off the dedicated circuit breaker at your electrical panel if the unit is hardwired. Locate the water supply shutoff valve under the sink and turn it clockwise to close. Place towels on the floor in front of the dishwasher and have a shallow pan ready to catch residual water. Verify power is off by attempting to start a cycle; nothing should happen.
- 2
Remove and Clean the Filter Assembly
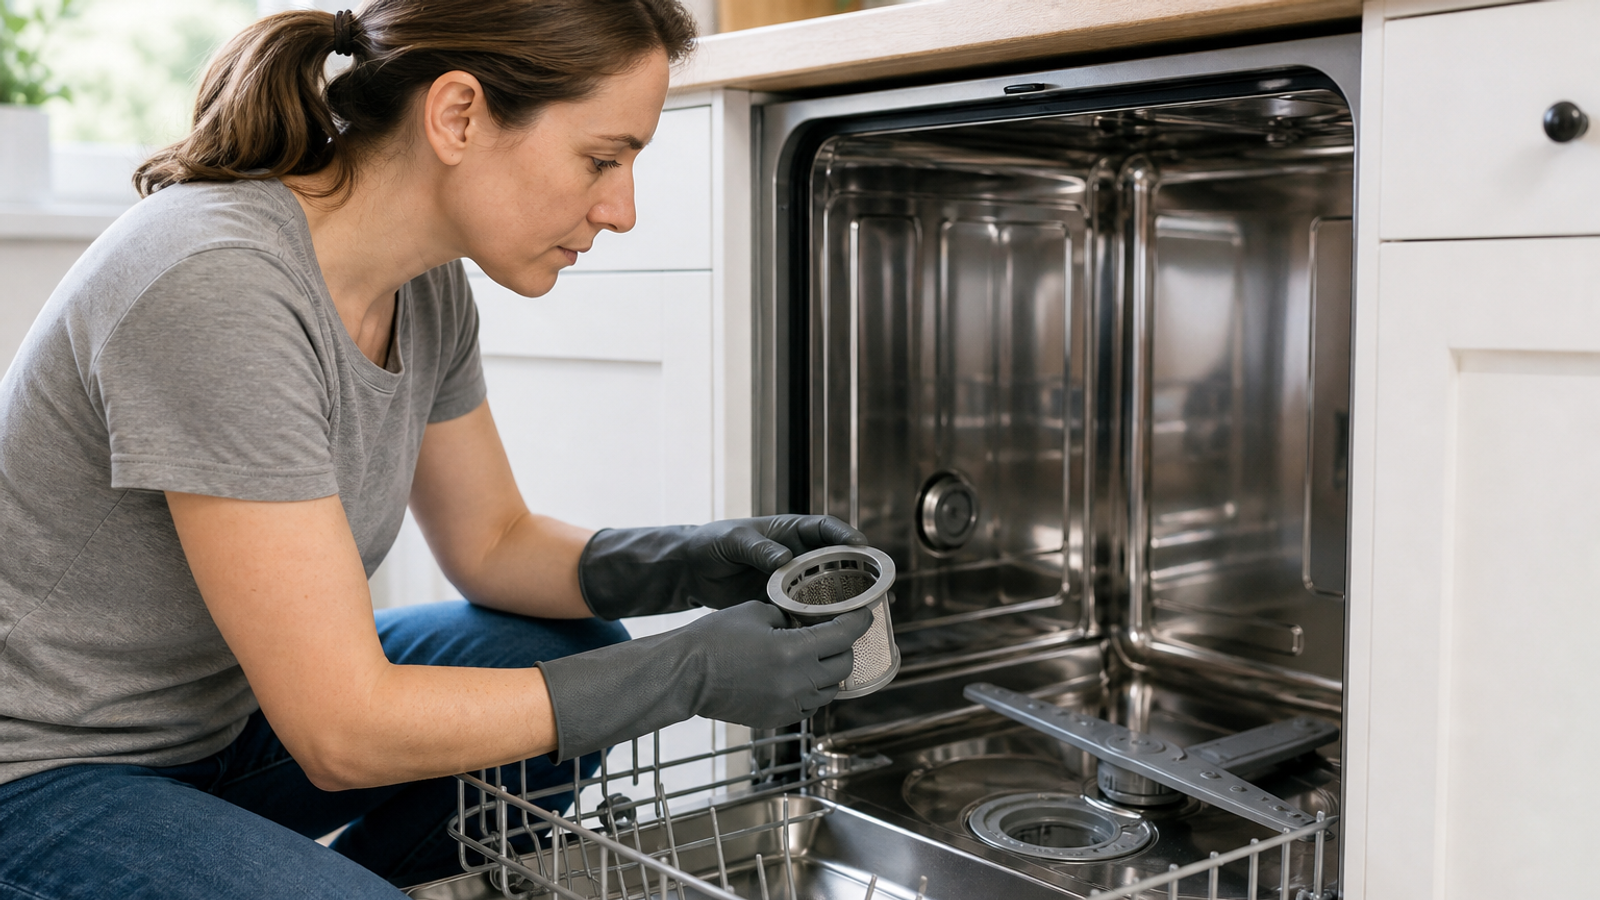
Open the dishwasher door and remove the bottom dish rack to access the tub floor. Locate the cylindrical or flat filter assembly at the tub bottom, typically in the center or back corner. Twist the filter counterclockwise or lift the release tab according to your model's design, then lift it out. Rinse the filter under running water and use a soft brush to remove trapped food particles, grease, and debris from the mesh screen. Inspect the filter for damage such as cracks or tears; if damaged, order a replacement using your dishwasher's model number.
- 3
Inspect and Clean the Sump Area
With the filter removed, use a flashlight to inspect the sump opening beneath where the filter sits. Remove any visible debris, broken glass, or food particles using your fingers (wear gloves) or needle-nose pliers. Use a damp sponge to wipe the area clean. Check for any foreign objects that may have fallen through the filter, as these can damage the pump or prevent proper drainage. Do not reach into areas you cannot see clearly or where sharp objects may be present.
- 4
Remove and Clean the Spray Arms
Locate the lower spray arm at the tub bottom and the upper spray arm beneath the top rack. Most spray arms simply lift off or require a counterclockwise twist to unlock from the mounting hub. Remove both spray arms and inspect the spray holes for clogs caused by mineral deposits or food particles. Use a toothpick, straightened paperclip, or small wire to clear each hole, then rinse the spray arms under running water. Check that the spray arms spin freely on their mounting hubs and are not cracked or warped.
- 5
Inspect the Door Gasket
Examine the rubber gasket that runs around the inside of the door opening, looking for cracks, tears, hard spots, or areas where the gasket has pulled away from its channel. Run your finger along the entire gasket to feel for damage that may not be visible. If the gasket is damaged, order a replacement specific to your dishwasher model. To replace, pull the old gasket out of its retaining channel, clean the channel with a damp cloth, and press the new gasket into place starting at the top center and working around both sides to the bottom.
- 6
Check the Drain Hose
Access the drain hose by opening the cabinet door under the sink or removing the dishwasher's lower access panel if the hose runs through the floor. Inspect the entire visible length of the hose for kinks, which appear as sharp bends that restrict water flow. Disconnect the hose from the sink drain or garbage disposal by loosening the hose clamp with a screwdriver or pliers. Check inside both ends of the hose for clogs by shining a flashlight through it or running water through it into a bucket. If clogged, use a plumber's snake or straightened wire hanger to clear the obstruction, or replace the hose if severely blocked.
- 7
Clean the Air Gap and Disposal Connection
If your dishwasher drains through an air gap (a small chrome cylinder on the sink or countertop), remove the chrome cap by lifting or twisting it off. Remove the plastic cap underneath and clean out any debris or buildup inside the air gap body using a bottle brush or small scrub brush. If the dishwasher drains into a garbage disposal, ensure the knockout plug was removed during installation by feeling inside the disposal inlet with your finger (with power off). Run the disposal with water to clear any accumulated debris that might block dishwasher drainage.
- 8
Reassemble and Test
Reinstall the spray arms by aligning them with the mounting hubs and twisting or pressing until they lock in place; verify they spin freely by hand. Insert the filter assembly and twist or lock it according to your model's design, ensuring it seats completely and does not wobble. Reconnect the drain hose and tighten the hose clamp securely. Replace the bottom rack, close the door, and restore water supply by opening the shutoff valve. Restore electrical power and run a short rinse cycle, observing for proper spray arm rotation, complete drainage, and no leaks around the door or under the unit.
- 9
Adjust Door Latch and Strike
If the door does not close properly or leaks persist after gasket replacement, inspect the door latch mechanism and strike plate. The latch is typically located on the inside top edge of the door, while the strike plate is mounted on the tub opening. Check that the strike plate screws are tight and the plate is not bent or misaligned. Some models have adjustable strike plates that can be loosened and repositioned slightly to improve door alignment. Close the door and verify the latch engages with a solid click; if the door feels loose when latched, adjustment or professional service may be needed.
- 10
Test Cleaning Performance
Load the dishwasher with a normal load of dirty dishes, add the appropriate amount of detergent, and run a complete normal cycle. After the cycle completes, check that all dishes are clean, water has fully drained from the tub, and no water has leaked onto the floor. If cleaning performance remains poor despite clean filters and spray arms, verify your water heater is set to at least 120 degrees Fahrenheit and that you are using fresh dishwasher detergent (not regular dish soap). If problems persist, the issue may involve the circulation pump, water inlet valve, or heating element, which require professional diagnosis and repair.
A dishwasher that stops working properly can disrupt your household routine and leave you facing stacks of dirty dishes. Many common dishwasher problems stem from simple mechanical blockages, worn door seals, or clogged components that a careful homeowner can address without specialized training. Th
Understanding the boundary between homeowner maintenance and professional repair is essential for both safety and appliance longevity. You can safely clean filters, clear drain hoses, replace door gaskets, remove spray arm clogs, and adjust door latches using basic hand tools. However, work involvin
Understanding Your Dishwasher System
Modern dishwashers operate through an integrated system of water supply, spray distribution, drainage, and electronic controls. Water enters through a supply line connected to your home plumbing, passes through a fill valve controlled by the dishwasher's timer or electronic control, and fills the tu
The most accessible components for homeowner repair include the filter assembly at the tub bottom, the spray arms, the door gasket, and the drain hose. These parts are designed for periodic cleaning and replacement without tools or with simple hand tools. The filter traps food particles and prevents
Preparation and Safety Boundaries
Before beginning any dishwasher repair, disconnect power to the unit. For dishwashers with a plug accessible beneath the sink, unplug the appliance from the outlet. For hardwired units, turn off the dedicated circuit breaker at your electrical panel and verify power is off by attempting to start a c
Turn off the water supply to the dishwasher using the shutoff valve typically located under the sink. If no dedicated shutoff exists, you may need to close the main water supply to your kitchen. Place towels on the floor in front of the dishwasher before opening the door or disconnecting any hoses,
Identify your dishwasher's make and model by locating the data plate, usually found on the door edge or inside the tub. Record this information before starting repairs, as you may need it to order replacement parts. Consult your owner's manual for the location of components and any manufacturer-spec
Common Problems and Diagnostic Steps
Poor cleaning performance typically results from clogged spray arms, a dirty filter, improper loading, or insufficient water temperature. If dishes come out dirty, first check that you are loading the dishwasher according to manufacturer guidelines and using the correct detergent amount. Run hot wat
Standing water in the tub bottom after a cycle indicates a drainage problem. The most common causes are a clogged filter, kinked drain hose, blocked air gap, or obstruction in the garbage disposal connection. Check the filter first, as this is the easiest access point. If the filter is clear, inspec
Water leaking from the dishwasher door during operation usually indicates a worn or damaged door gasket, misaligned door, or oversudsing from incorrect detergent. Inspect the rubber gasket that runs around the door opening for cracks, tears, or areas that have become hard and inflexible. Check that
Unusual noises during operation can indicate several issues. A grinding sound often means the pump is trying to move water past an obstruction in the filter or spray arm. Rattling may indicate a spray arm is loose or hitting dishes, or that a piece of broken dish or utensil has fallen into the sump
Verification and Testing
After completing any repair, restore water and power to the dishwasher and run a short cycle to verify the fix. For drainage repairs, run the dishwasher through a complete cycle and check that water fully drains from the tub. For spray arm cleaning, observe the spray arms during the wash cycle by op
If the original problem persists after your repair attempt, recheck your work to ensure all components are properly seated and secured. Verify that the filter is locked in place, spray arms are correctly mounted, and any hoses you disconnected are fully reconnected without kinks. If the problem cont
When to Call a Professional
Contact a qualified appliance repair technician if you encounter any electrical work beyond unplugging the unit, if you need to replace pumps or motors, if the control panel displays error codes you cannot resolve through basic troubleshooting, or if you suspect a problem with the heating element. W
Stop work immediately and call a professional if you discover damaged electrical wiring, smell burning odors, see signs of water damage to surrounding cabinets or flooring that suggests a long-term leak, or if the dishwasher has experienced a power surge or flood. These conditions indicate problems
Some repairs that appear simple may require special tools, diagnostic equipment, or technical knowledge. Replacing a circulation pump, for example, requires draining the system, disconnecting multiple hoses and electrical connections, and properly sealing the new pump. Control board diagnosis requir
Maintenance to Prevent Future Problems
Regular maintenance extends dishwasher life and prevents many common problems. Clean the filter monthly or more frequently if you regularly wash heavily soiled dishes. Scrape large food particles from dishes before loading, but avoid pre-rinsing, as modern dishwasher detergents are formulated to wor
Once every three months, run an empty cycle with a dishwasher cleaner or white vinegar placed in a cup on the top rack to remove mineral deposits and grease buildup from internal components. Inspect the door gasket quarterly for signs of wear and wipe it clean with a damp cloth to remove food partic
Monitor your dishwasher's performance and address small problems promptly before they escalate. If you notice cleaning performance declining gradually, increased noise, or longer cycle times, investigate the cause rather than waiting for complete failure. Keep the area around and beneath the dishwas
Sources
Original information
- WaterSense Home Maintenance — U.S. Environmental Protection Agency
- Consumer Guide to Kitchen Appliances — U.S. Department of Energy