
Prepare
Tools and materials
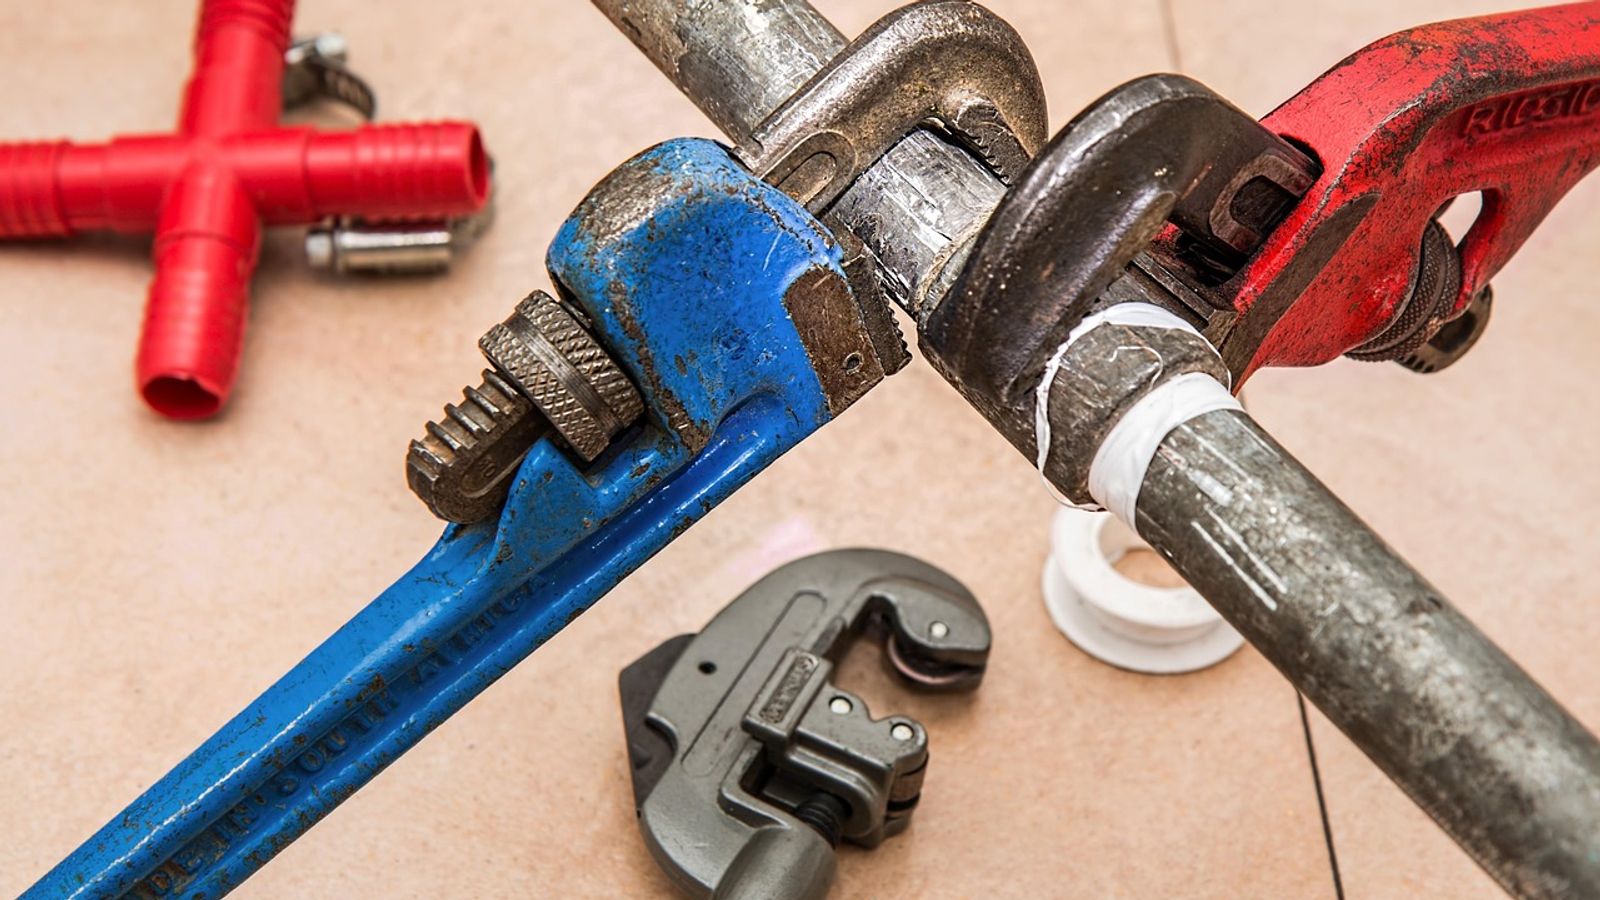
- adjustable wrench
- slip-joint pliers
- bucket
- sponge
- flashlight
- towels
- paper towels
- small container
- basin wrench
Safety boundary
Stop and reassess if
- Stop work immediately if the shutoff valve will not close completely or leaks when turned
- Do not force a corroded shutoff valve as this can break the pipe inside the wall
- Do not attempt this repair if the toilet tank has visible cracks or damage
- Avoid overtightening connections as this can crack porcelain or strip plastic threads
- Check local building codes and regulations before beginning plumbing work
- Call a licensed plumber if the shutoff valve fails or if supply pipes show significant corrosion
Step by step
How to approach the work
- 1
Shut Off the Water Supply
Locate the shutoff valve on the water supply line beneath the left side of the tank and turn it clockwise until it stops. Flush the toilet once to drain most of the water from the tank. If water continues to enter the tank after turning the valve, the shutoff is not functioning and you must stop work and address the valve before proceeding.
- 2
Disconnect the Supply Line
Place a bucket beneath the connection point where the supply line meets the bottom of the tank. Use an adjustable wrench or pliers to turn the coupling nut counterclockwise, holding the fill valve shank steady if possible to prevent it from spinning. Remove the supply line completely and allow any remaining water to drain into the bucket.
- 3
Remove Remaining Tank Water
Use a sponge or small container to remove the water remaining in the bottom of the tank after flushing. Absorb or scoop out all water until the tank interior is dry enough to prevent spilling when you remove the old valve. This step prevents water from running down the outside of the tank and onto the floor during valve removal.
- 4
Remove the Old Fill Valve
Reach beneath the tank and locate the plastic or metal locknut securing the fill valve shank. Turn this locknut counterclockwise using pliers or an adjustable wrench until it comes free. Lift the old fill valve straight up and out of the tank, disconnecting the refill tube from the overflow tube as you remove it.
- 5
Prepare the New Fill Valve
Adjust the height of the new fill valve according to the manufacturer's instructions so the top of the valve sits at least one inch above the expected water level. Most valves adjust by twisting the upper section or by pressing a release button and sliding the mechanism to the correct height. Ensure the rubber gasket is positioned correctly on the valve shank with the tapered or beveled side facing down toward the tank bottom.
- 6
Install the New Fill Valve
Insert the new fill valve through the hole in the tank bottom, ensuring the gasket seats flat against the tank surface. Thread the locknut onto the shank from beneath the tank and hand-tighten it fully. Use pliers to tighten the locknut an additional quarter to half turn until snug, being careful not to overtighten and crack the tank or strip the plastic threads.
- 7
Reconnect the Supply Line
Align the supply line coupling nut with the threaded shank beneath the tank and thread it on by hand clockwise until finger-tight. Use pliers or a wrench to tighten the coupling nut an additional half turn while holding the valve shank steady. Check that the connection feels firm but do not force it beyond resistance, as overtightening can damage the washer or crack the valve threads.
- 8
Attach the Refill Tube and Restore Water
Connect the small refill tube from the fill valve to the clip on the overflow tube, ensuring the tube end sits inside the overflow tube opening without kinking. Turn the shutoff valve counterclockwise slowly to restore water flow, watching for leaks at both the coupling nut and locknut connections. Allow the tank to fill completely and verify that the fill valve shuts off automatically when the water reaches the proper level.
A toilet fill valve controls the water flow into the tank after each flush, shutting off automatically when the tank reaches the correct level. When this component fails, you may hear constant running water, see the tank refilling slowly, or notice water trickling into the overflow tube. Replacing a
The primary risk in this project is water damage from an improperly closed shutoff valve, a cross-threaded supply line connection, or a cracked tank. Understanding where water can escape and how to control it at every stage separates a successful repair from a flooded bathroom. This guide walks you
Understanding Your Toilet's Fill System
The fill valve mounts inside the tank on the left side in most toilets, connected to the water supply line beneath the tank. Water enters through the threaded shank at the tank bottom, passes through the valve body, and stops flowing when a float mechanism signals that the tank has reached the prope
Fill valves come in several designs. Older ballcock-style valves use a float ball on a metal arm, while modern float-cup valves have a cylindrical float that slides up and down the valve body. Internal-float valves contain the float mechanism inside a sealed housing. Regardless of design, all fill v
Identifying your current valve type helps you select a compatible replacement. Most hardware stores and home centers stock universal fill valves that adjust to fit tanks of varying heights and can replace any older style. Measure the distance from the bottom of the tank to the top edge before shoppi
Preparation and Tool Assembly
Clear the area around the toilet base and create a workspace where you can set the tank lid safely aside. Place old towels on the floor beneath the supply line connection point and have a bucket ready to catch residual water from the tank and supply line. Gather your tools before starting so you can
You will need an adjustable wrench or slip-joint pliers for the coupling nut and locknut, a small container or sponge to remove remaining tank water, and the new fill valve assembly. A flashlight helps you see the connections beneath the tank clearly. Some installations benefit from a basin wrench i
Inspect the supply line condition while you have access. If the braided stainless steel or plastic supply line shows corrosion, kinks, or age-related deterioration, replace it during this project. A new supply line costs a few dollars and eliminates a potential failure point. Check that the replacem
Safety Boundaries and When to Stop
This project assumes your toilet tank is intact without cracks, the floor flange is stable, and the shutoff valve operates smoothly. If turning the shutoff valve causes water to spray from the valve stem packing, if the valve will not close completely, or if you cannot turn it at all, stop and call
Do not attempt this repair if the tank shows hairline cracks, if the tank rocks on the bowl, or if you see active leaking from the tank-to-bowl gasket. These conditions indicate structural problems that require professional evaluation and possibly a complete toilet replacement. Similarly, if your ho
If you live in a building with shared plumbing, check whether your lease or building regulations require professional service for any plumbing repairs. Some jurisdictions require permits for plumbing work or mandate that only licensed plumbers perform repairs that involve water supply connections. C
Executing the Fill Valve Replacement
The replacement process follows a specific sequence designed to minimize water exposure and verify each connection before moving to the next step. Work methodically and check your progress at each stage rather than rushing through the entire procedure.
Post-Installation Verification
After completing the installation steps, verification ensures the new valve functions correctly and all connections remain watertight under pressure. Flush the toilet three times in succession, watching for leaks at the coupling nut beneath the tank and around the locknut inside the tank. Check that
Listen for the refill cycle to complete with a distinct shutoff. If you hear water continuing to run after the tank fills, the float may need adjustment or the valve seat may not be sealing properly. Verify that the refill tube directs water into the overflow tube without kinking or pulling loose fr
Observe the toilet's performance over the next 24 hours. A properly installed fill valve should refill the tank in 60 to 90 seconds, shut off completely without running, and maintain consistent water level without fluctuation. If the tank overfills and water runs into the overflow tube, adjust the f
Troubleshooting Common Installation Issues
A leak at the coupling nut usually indicates insufficient tightening or a damaged washer. Turn off the water, disconnect the supply line, inspect the washer inside the coupling nut, and replace it if compressed unevenly or cracked. Reconnect and tighten the coupling nut firmly, but do not overtighte
Water leaking from beneath the tank around the locknut means the rubber gasket is not seated properly or the locknut is loose. Drain the tank, tighten the locknut an additional quarter turn, and refill. If leaking continues, the gasket may be positioned incorrectly or the tank hole may have rough ed
If the fill valve runs continuously or cycles on and off, check the float adjustment first. The float should rise freely without rubbing the tank wall or overflow tube. Lower the float setting slightly and test again. Continuous running despite correct float adjustment may indicate debris in the val
A hissing sound during the fill cycle is normal, but loud hammering or banging when the valve shuts off indicates water hammer. This occurs when water flow stops abruptly in the supply line. Installing a water hammer arrestor on the supply line or adjusting the valve's flow restrictor can reduce the
Cleanup and Maintenance
Dispose of the old fill valve according to local regulations. Most components are recyclable plastic and brass. Wipe down the exterior of the tank and the floor around the toilet to remove any spilled water. Return tools to storage and keep the installation instructions for the new valve with your h
Test the new fill valve monthly by flushing and listening for proper shutoff. Mineral deposits can accumulate on the valve seat over time, especially in areas with hard water. Annual cleaning of the valve internals prevents buildup that interferes with sealing. Mark your calendar to inspect the supp
If you notice performance changes such as slow filling, incomplete shutoff, or unusual noises, address them promptly. Small adjustments made early prevent water waste and potential overflow situations. Keep a spare fill valve on hand if your toilet model uses a non-standard size, as this allows imme
Sources
Original information
- Residential Toilets — U.S. Environmental Protection Agency
- WaterSense Home Maintenance — U.S. Environmental Protection Agency